Whether you are getting some assistance from us for your implementation, or 'doing it yourself,' there are some 'homework' items to think about for your Project Insight set up. You will need to define the terms that appear in your pull down menus and select lists throughout Project Insight.
Start by reviewing the Getting Started Videos. These will short videos will familiarize you with the topics you need to consider for your global settings. You may need to hold some meetings with team members to create agreement about the terminology you choose.
Review the Getting Started Videos in order by starting on the top left, moving to the right, then to the next row, left to right. When you are ready, this is the best 'order of events' for populating the global settings. Some items refer to other elements, so just trust us on the order.
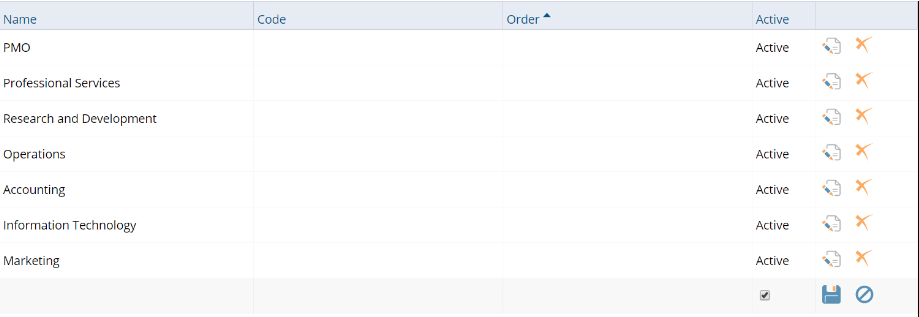
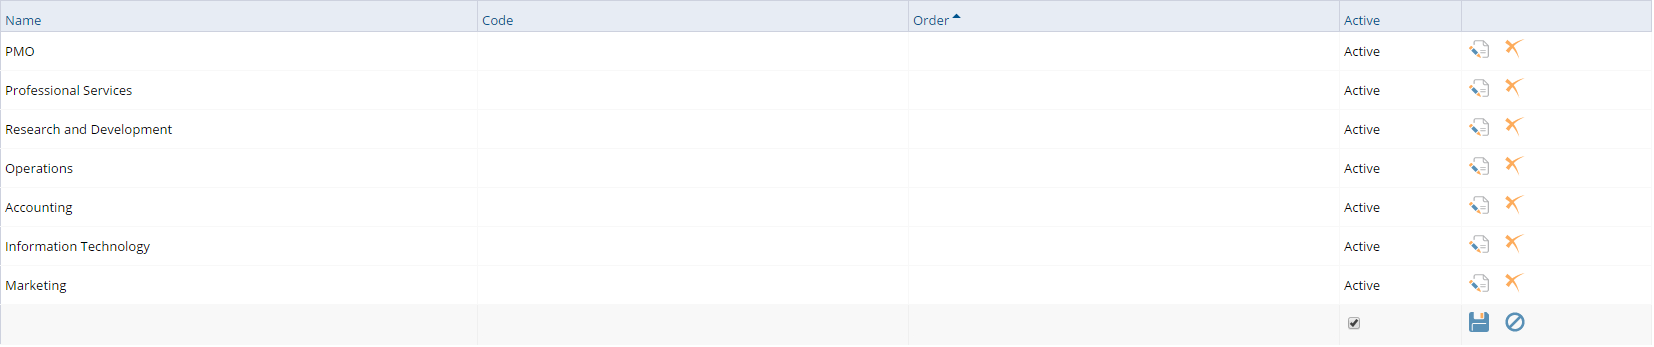
Departments
There are different lists associated with Users (these are located under the Users section in Administration). These lists should be populated along with the project and time & expense codes and the companies and groups outlined below, before you add users.
Departments refer to the organization’s departments. This is a one to one relationship, with one department per user or team member. You may assign an entire department to a project in one mouse click. Departments are used for rolling up resources in resource allocation reports and other areas. You can also assign a project to a department and run reports on that.
User Types
User types refer to whether the team member is an employee, vendor, sub-contractor or other type. You will need to decide what terms you would like to use for these designations. These terms are used to do filtering and reporting on users.

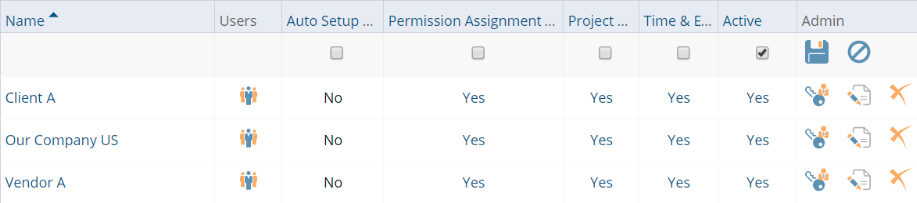
Companies
Companies refer to any organizational entity that you work with. Your own company will be automatically entered in the system. Other common examples of companies are:
- Customers or clients
- Vendors
- Sub-contractors
- Departments (if you are using the system internally only)
Company designations are related to permissions. You can set up access by company. You can also limit communications by company, so that any users you have associated with one company can't see any other users associated with another company. They are also relevant for reporting purposes, allowing you to pull up all projects, tasks, time/expense entries by any company entity.
If you are collaborating with external parties, you will most likely input all these organizations in as companies.
Users are associated to one company.
Groups
Groups are used to organize sets of users for security purposes and for resource assignment purposes (for example, if you have different teams and want to quickly add that team to a project).
Users can belong to more than one group. Projects can also be assigned to groups for reporting purposes. You can also limit communications by group, so that any users you have associated with one group can't see any other users associated with another group.
There is a group called "Authenticated Users" that is created automatically and can't be deleted or changed. This group contains every user in the system and is used to globally grant or deny access. All other groups are managed by the System Administrator. A common group example is one called "Administrators."
Default Work Schedule
The default work schedule is where you set the standard work days (and non-working days) for your organization. This is used to schedule work and resources. You may only have one default work schedule for your organization or you may have several if you have teams working in different time zones, or have different standard working days. You will want to determine the standard hours, including lunch breaks etc. plus your organization wide holidays and other non-working days.
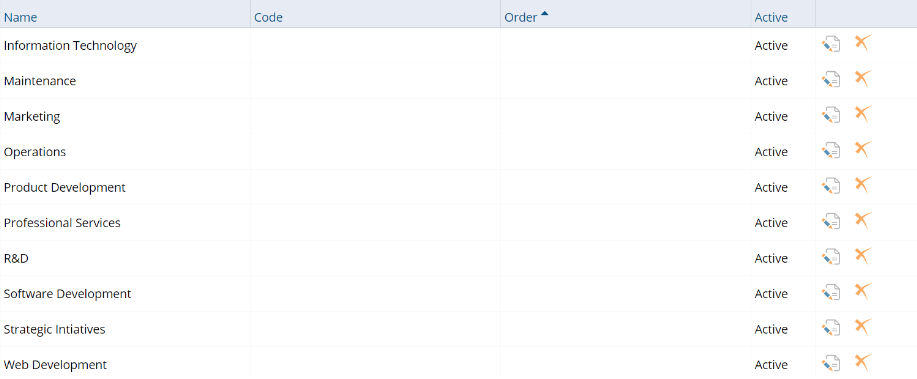
Project Types
To determine what should go into project types you can start by asking yourself what terms your team currently uses to define the types of projects you conduct. If you do not presently designate projects by type, you might consider categorizing projects by the following:
- Projects that you conduct by department/client/customer
- Projects that you conduct for customers by industry
- Projects that you perform by business initiative or program
Project types are relevant for reporting purposes. So, think about how you would like to segment your projects, roll them up or group by for reporting purposes.
Project Status
Project status refers to the state a project is in. Project status designations are related to the three traffic light indicators: green, yellow, and red. These status indicators are set on a project by the project manager manually. (There are automatic indicators as well, but you do not need to configure those.)
Again, you might have a current set of terms by which you define projects. If you wish to carry that over into Project Insight, then you can add those terms in the system. Otherwise, some common designations include:
- Green=On Schedule, Normal, or Low Priority
- Yellow=Caution, On Hold, Behind Schedule, or Medium Priority
- Red=Urgent, Overdue, or High Priority
If you have additional statuses, you can create your own icon to represent those and upload that.
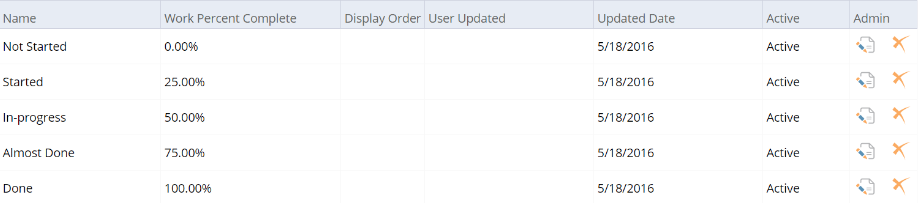
Work Percent Complete Types
Work Percent Complete Types are used to represent how far a long projects and tasks are. Team members will work on tasks and then update how far along the tasks are. A standard way of doing this is using a % complete value, such as 10%, 50% and 100%. To make is easier for teams to enter this data, you can have your team enter descriptions rather than numbers. For example, 10% may be represented by the description of "Just Started" and 50% may be represented by a description of "Halfway Done".
You can decide whether to use descriptions or numbers and if you decide to use descriptions, then you need to determine what the % increments for those descriptions will be. Below is a common set of definitions that organizations use, or you may decide to make them more detailed (such as 20% increments or even 10% increments). The descriptions still link to a % complete value in the back-end of the system and that value is used in automatic health indicators to determine if the project is behind schedule, over hours, over costs or over billable amounts.
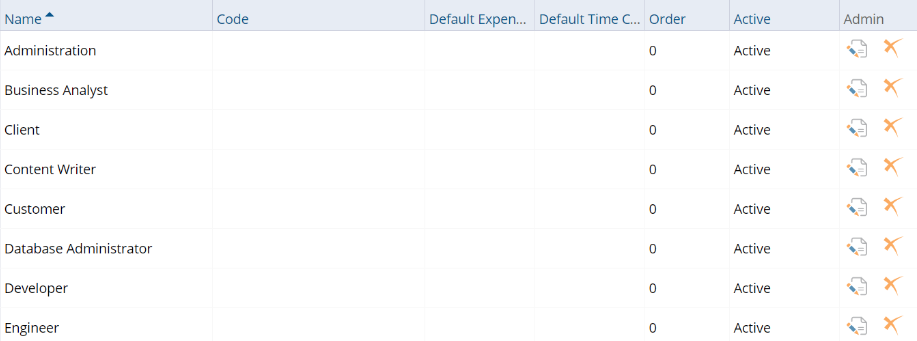
Resource Types
Resource types or roles are those skill sets that you might want to associate with tasks on your project schedule, and/or the skill sets you might wish to link to individuals’ skills. Again, if you have current skills that are needed to execute a project’s tasks, start there and input those into this area. Some ideas are:
- Programming
- Graphic artist
- Project manager
- Network administrator
- Sub-contractor
It is a good idea to populate this pull down menu, because you will be able to associate tasks with resource types and mass assign tasks to team members very rapidly, or swap out resources with just a few mouse clicks.
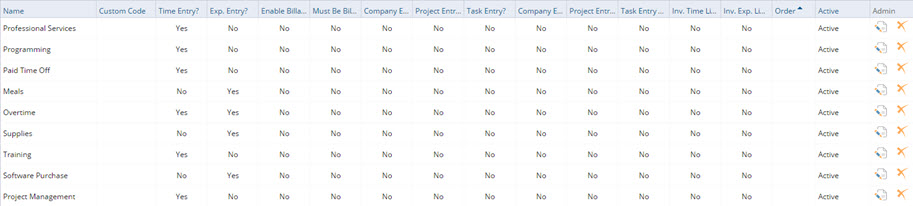
Time and Expense Codes
Time and expense codes are used to categorize the time and expenses that your team enters. This is under the Time, Expense & Invoice section of Administration.
To populate the time and expense area, you will probably need to interview someone in accounting. It makes sense to use the already existing time and/or expense codes that your accounting system already employs.
In some circumstances, you won't need to categorize time or expense codes. That sometimes happens. If that's the case, then you still need to enter at least one time/expense code if your staff are entering time and expenses as it is required. In that case, you can just create a generic or general one.
You can also link any alphanumeric values with time and expense codes if you plan to export the time and expense entries out to Excel and/or QuickBooks. This is particularly useful if you plan to import a .csv or a QuickBooks .iif into your existing accounting system, as then the accounting system will ‘know’ which time/expense entries belong to certain codes. If that's the case, enter it in the Custom Code field.
Issues
Issue options allow you to set up the terms that will show up in the pull down menus of the issue add/edit form.
You will need to decide what issue types you want to use, the terminology for priority, severity, states and resolution.
Comments
Comment types (in the "System Configuration" section in Administration) permit you to define the type of comment that is being entered for:
- Projects
- Tasks
- Files
- Approvals
For example, if you're entering a comment that is specific to the status of a project, you can define a project comment type of "Status" and then report on only those project comments that refer to status changes.
Also, any custom forms or items you add will allow you to define the added pull down to the comments area.
Under Comment Settings, you may determine if you will allow team members to edit or delete comments once posted and also what updates create automatic comments.
Navigation and content
The navigation and content area refers to the ability to create folders or project spaces on the left hand navigation. You may need to meet as a group to determine how you would like to set up this area. Some common usages are to set up project spaces for:
- Departments
- Regions
- Business initiatives
- Programs
- Customers/clients
You can also set permissions on these folders, so you may need to think about the teams you would like to separate and segregate. Those may end up being your folders. It is best to have a hierarchical outline of these groups prior to your training session.
Users
Users are simply the individuals that need active logins. Create these after the other lists have been populated as then you will be able to fill out the user’s entire profile at one time.
When setting up users, it is a good idea to know what role you wish to give that person. Are they a team member only? A project manager? A manager that needs to report on all projects in the system? What information do you want them to see or not? Then you will check off the appropriate check boxes for that individual and set the companies, groups, roles and so on.
Helpful Resources
Advanced Configuration OptionsPI PermissionsGlobal Settings